How to Cook Beef Chuck
How to Cook Beef Chuck: Braising, Roasting, or Slow Cooking with Time & Tips

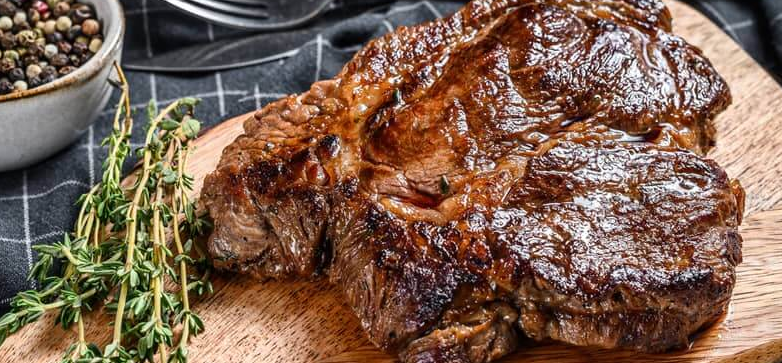
Beef chuck, often seen as a humble cut, is in fact one of the most rewarding when prepared properly. It comes from the shoulder area of the cow and is packed with connective tissue, intramuscular fat, and bold beefy flavor. When cooked low and slow, these elements break down into tender, juicy, deeply satisfying bites. As a chef, I turn to chuck when I want something hearty, comforting, and versatile.
- Why Beef Chuck Is a Favorite for Slow and Moist Cooking
- Ingredients and Equipment You’ll Need
- Choosing the Right Cut of Chuck
- Preparing the Chuck for Cooking
- Braising: My Go-To for Deep Flavor
- Oven Roasting Method (Dry Heat)
- Slow Cooking for Maximum Tenderness
- Time and Temperature Guidelines
- Stovetop Simmering: A Classic Technique
- Microwave and Pressure Cooker Techniques
- How to Shred or Slice Chuck Properly
- Sauces and Seasonings I Recommend
- Mistakes to Avoid When Cooking Beef Chuck
- Serving Ideas and Pairings
- How to Store and Reheat Without Losing Texture
- Why This Method Brings the Best Out of Beef Chuck
- Variations Worth Exploring
- Making Beef Chuck for a Crowd or Meal Prep
- FAQ: 15 Real Questions About Cooking Beef Chuck (With My Professional Advice)
Why Beef Chuck Is a Favorite for Slow and Moist Cooking
Chuck responds beautifully to both wet and dry heat. You can braise it in a Dutch oven, roast it in the oven, or let it slowly transform in a slow cooker. The key is time, moisture, and technique—and once you understand these fundamentals, the possibilities are endless.
Ingredients and Equipment You’ll Need
Here’s what I typically use when cooking beef chuck, whether I’m braising, roasting, or slow cooking:
Ingredients:
- 3 to 4 pounds beef chuck roast (boneless or bone-in)
- Salt and freshly ground black pepper
- 1–2 tablespoons oil (neutral or olive oil)
- 1 onion, sliced
- 4 cloves garlic, crushed
- 2 tablespoons tomato paste
- 1½ cups beef broth or red wine
- Fresh herbs: thyme, rosemary, bay leaf
- Optional: carrots, celery, mushrooms, Worcestershire sauce, balsamic vinegar
Equipment:
- Dutch oven or heavy roasting pan
- Slow cooker (6-quart recommended)
- Instant-read thermometer
- Large skillet (for searing)
- Knife, tongs, and ladle
Choosing the Right Cut of Chuck
Not all chuck is created equal. When I shop, I look for chuck roasts with good marbling—little veins of white fat running through the meat. These melt during cooking and give you that rich, buttery texture. Boneless chuck roasts are easier to portion and shred later, but bone-in offers more flavor if you’re roasting whole.
I avoid overly trimmed cuts or those with massive gristle lines through the center. A little connective tissue is what we want—it breaks down with time—but large sinew bands won’t soften and just get in the way.
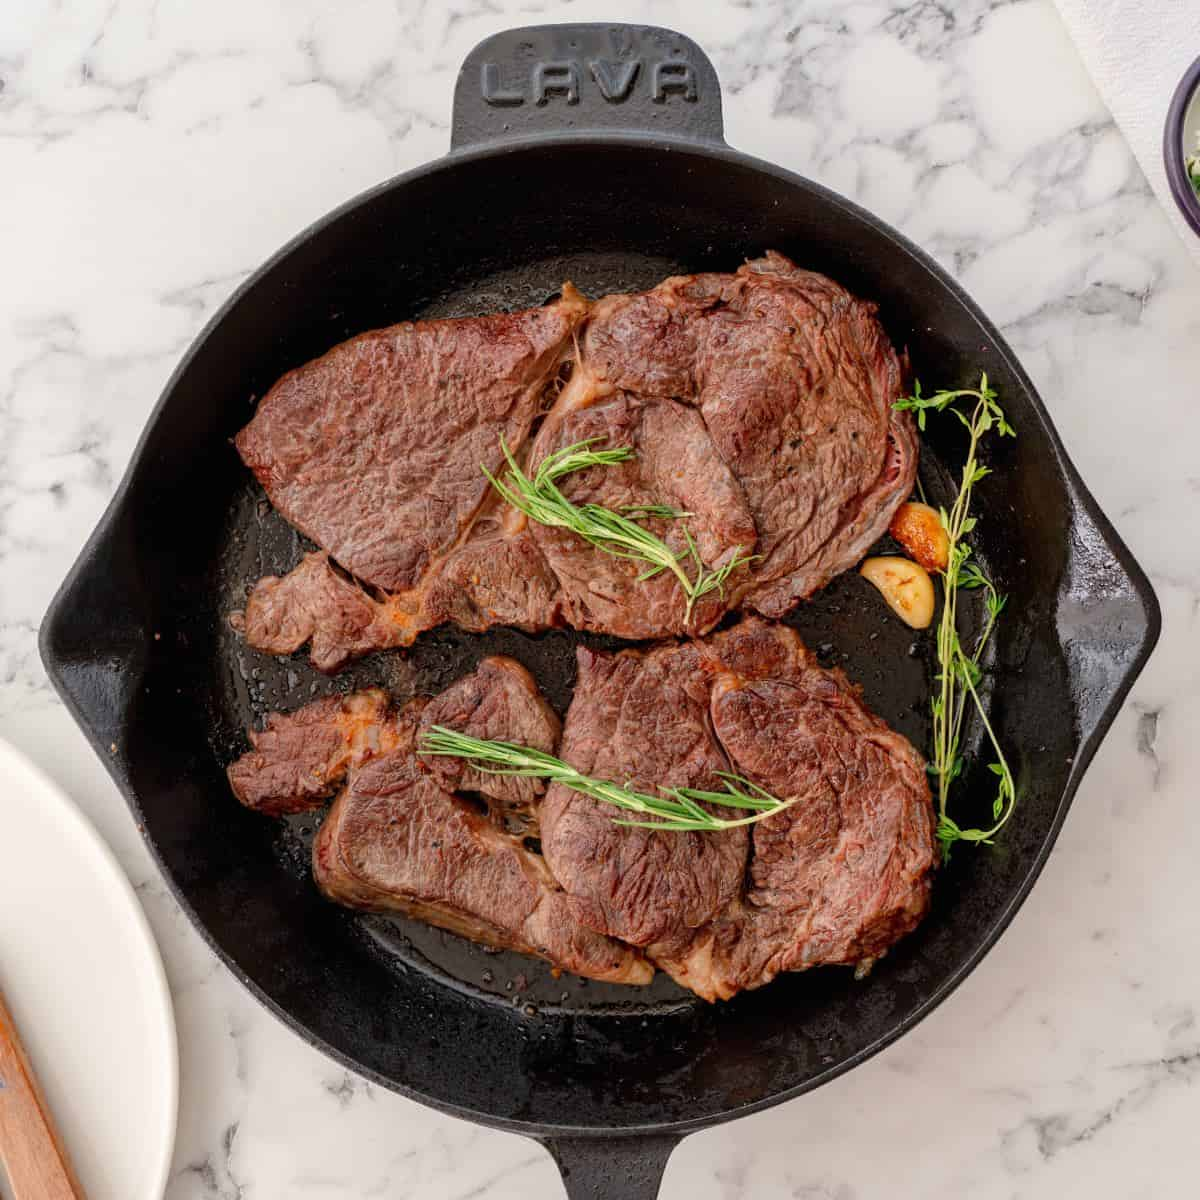
Preparing the Chuck for Cooking
Before cooking, I always pat the beef dry. Moisture on the surface prevents a good sear. I season generously with salt and pepper—this step builds a base layer of flavor that carries through the dish. If I’m braising, I also like to rub the meat lightly with tomato paste to intensify the umami.
If there’s a thick fat cap, I trim it down slightly. Too much fat will make the sauce greasy, but a little fat is important for flavor and texture. I also let the meat sit at room temperature for about 30 minutes before searing—it ensures even cooking later.
Braising: My Go-To for Deep Flavor
Braising is my favorite method for chuck. It gives me full control and the deepest flavor. After searing the meat on all sides in a Dutch oven, I remove it and sauté onions, garlic, and tomato paste in the same pot. I then deglaze with wine or broth, scraping up all the brown bits, and return the meat to the pot.
I add herbs and enough liquid to come about halfway up the meat, cover it tightly, and place it in a 300°F (150°C) oven for 3 to 3½ hours. I check once or twice during cooking, flipping the meat gently to ensure even exposure to the liquid. When done, it should shred with a fork and have a glossy, reduced sauce.
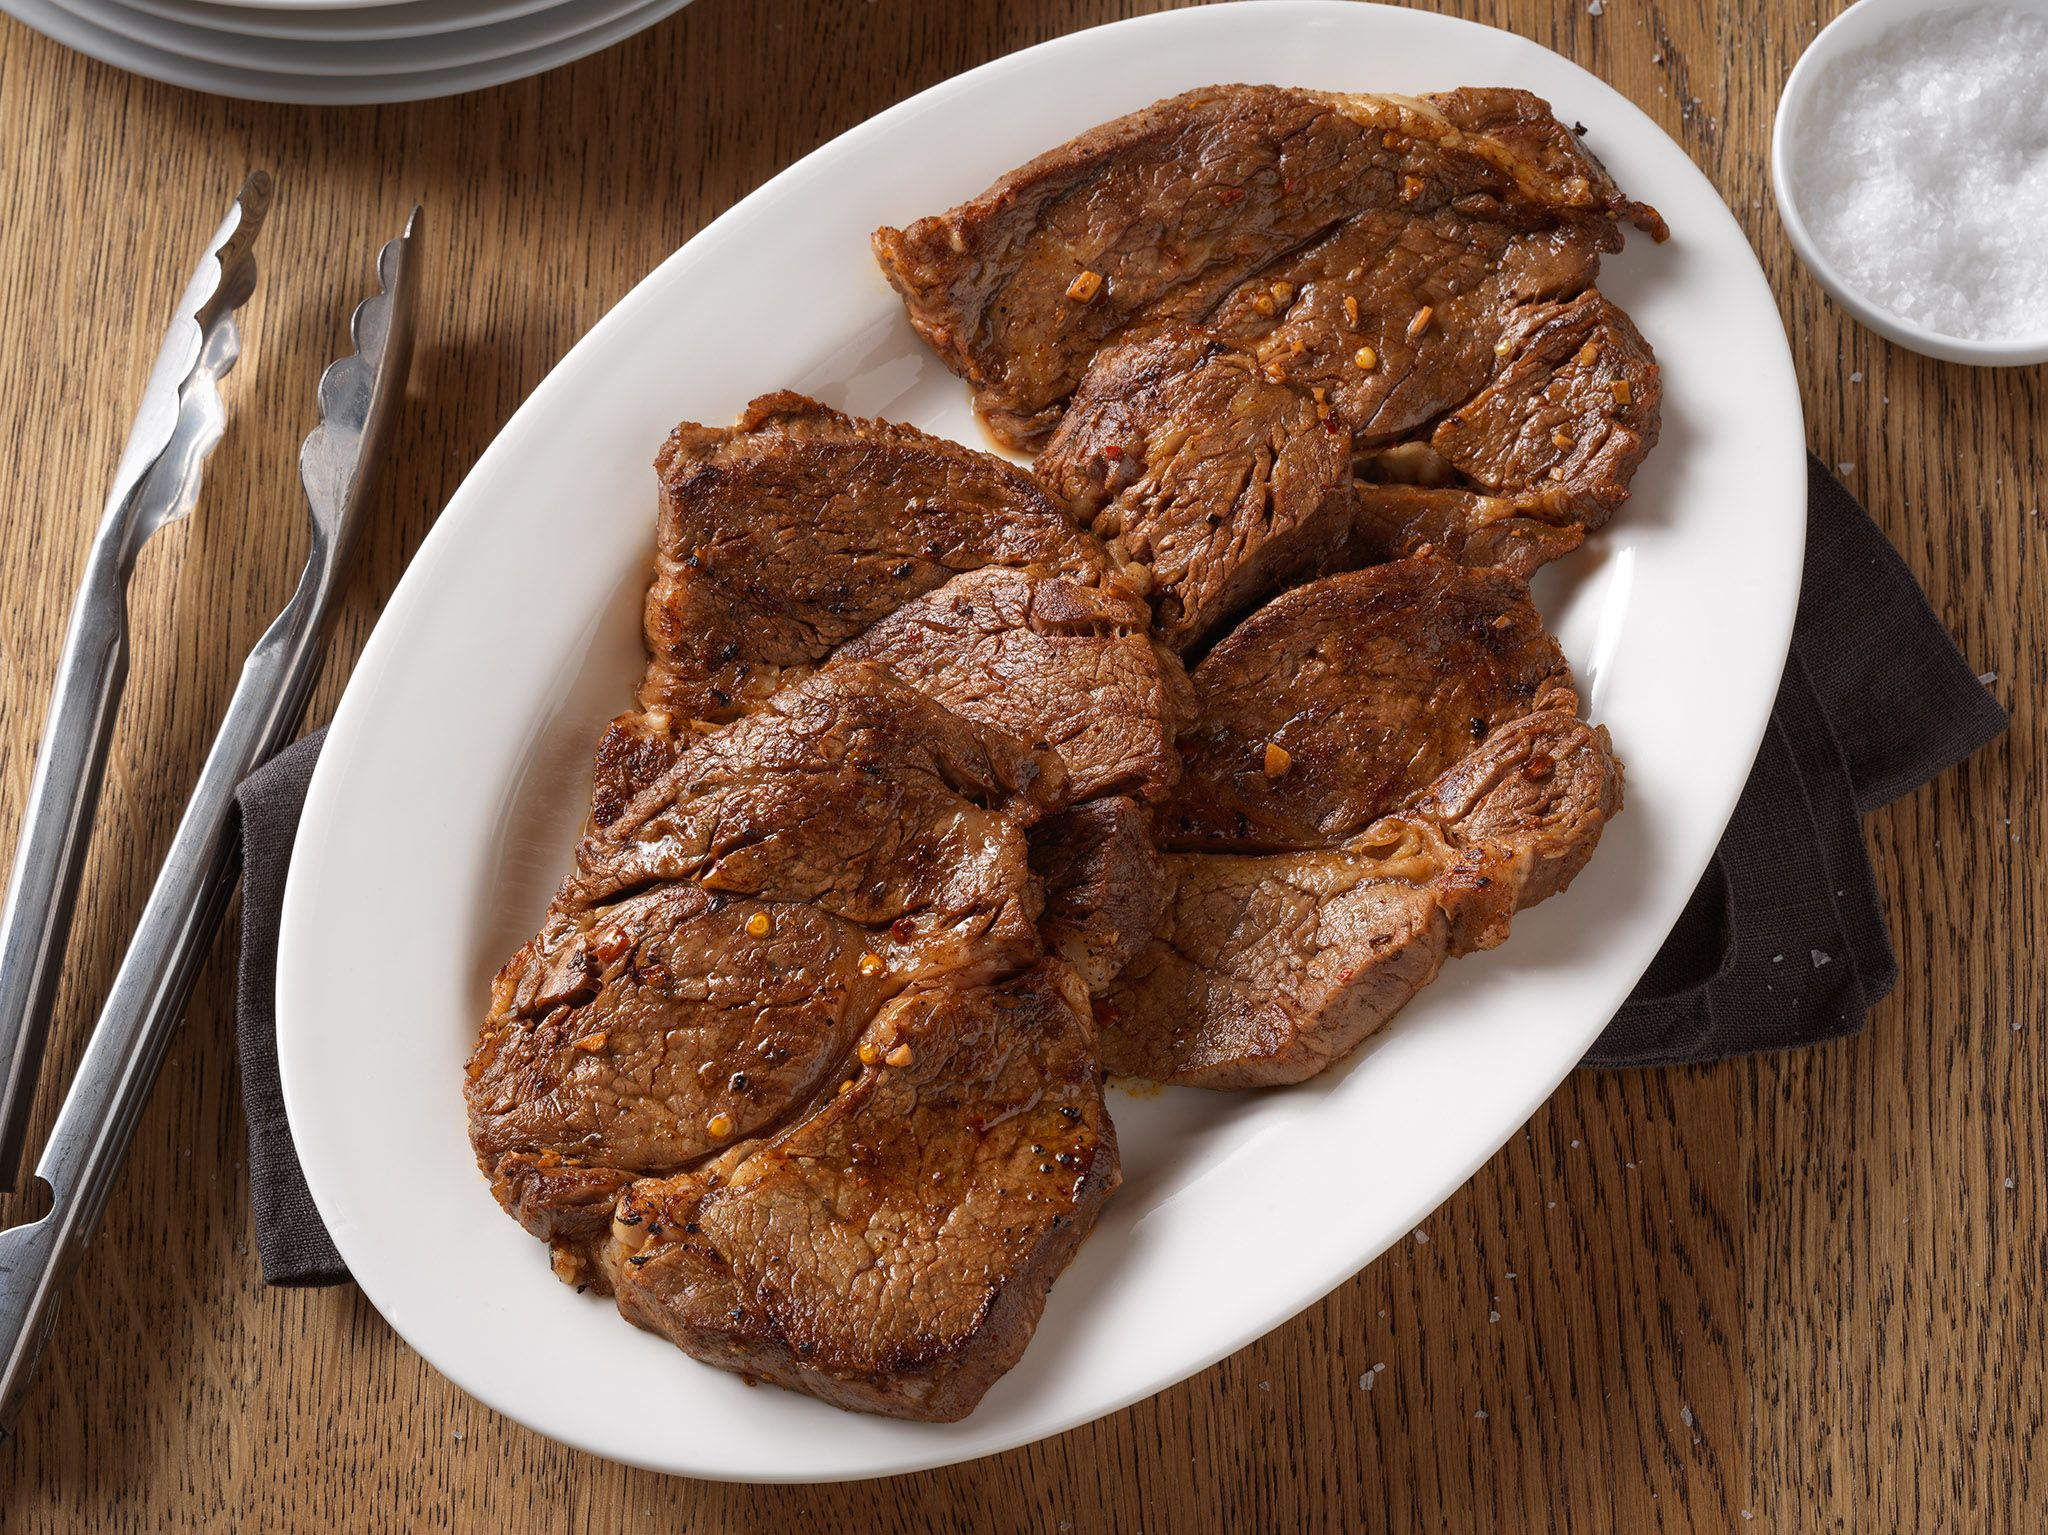
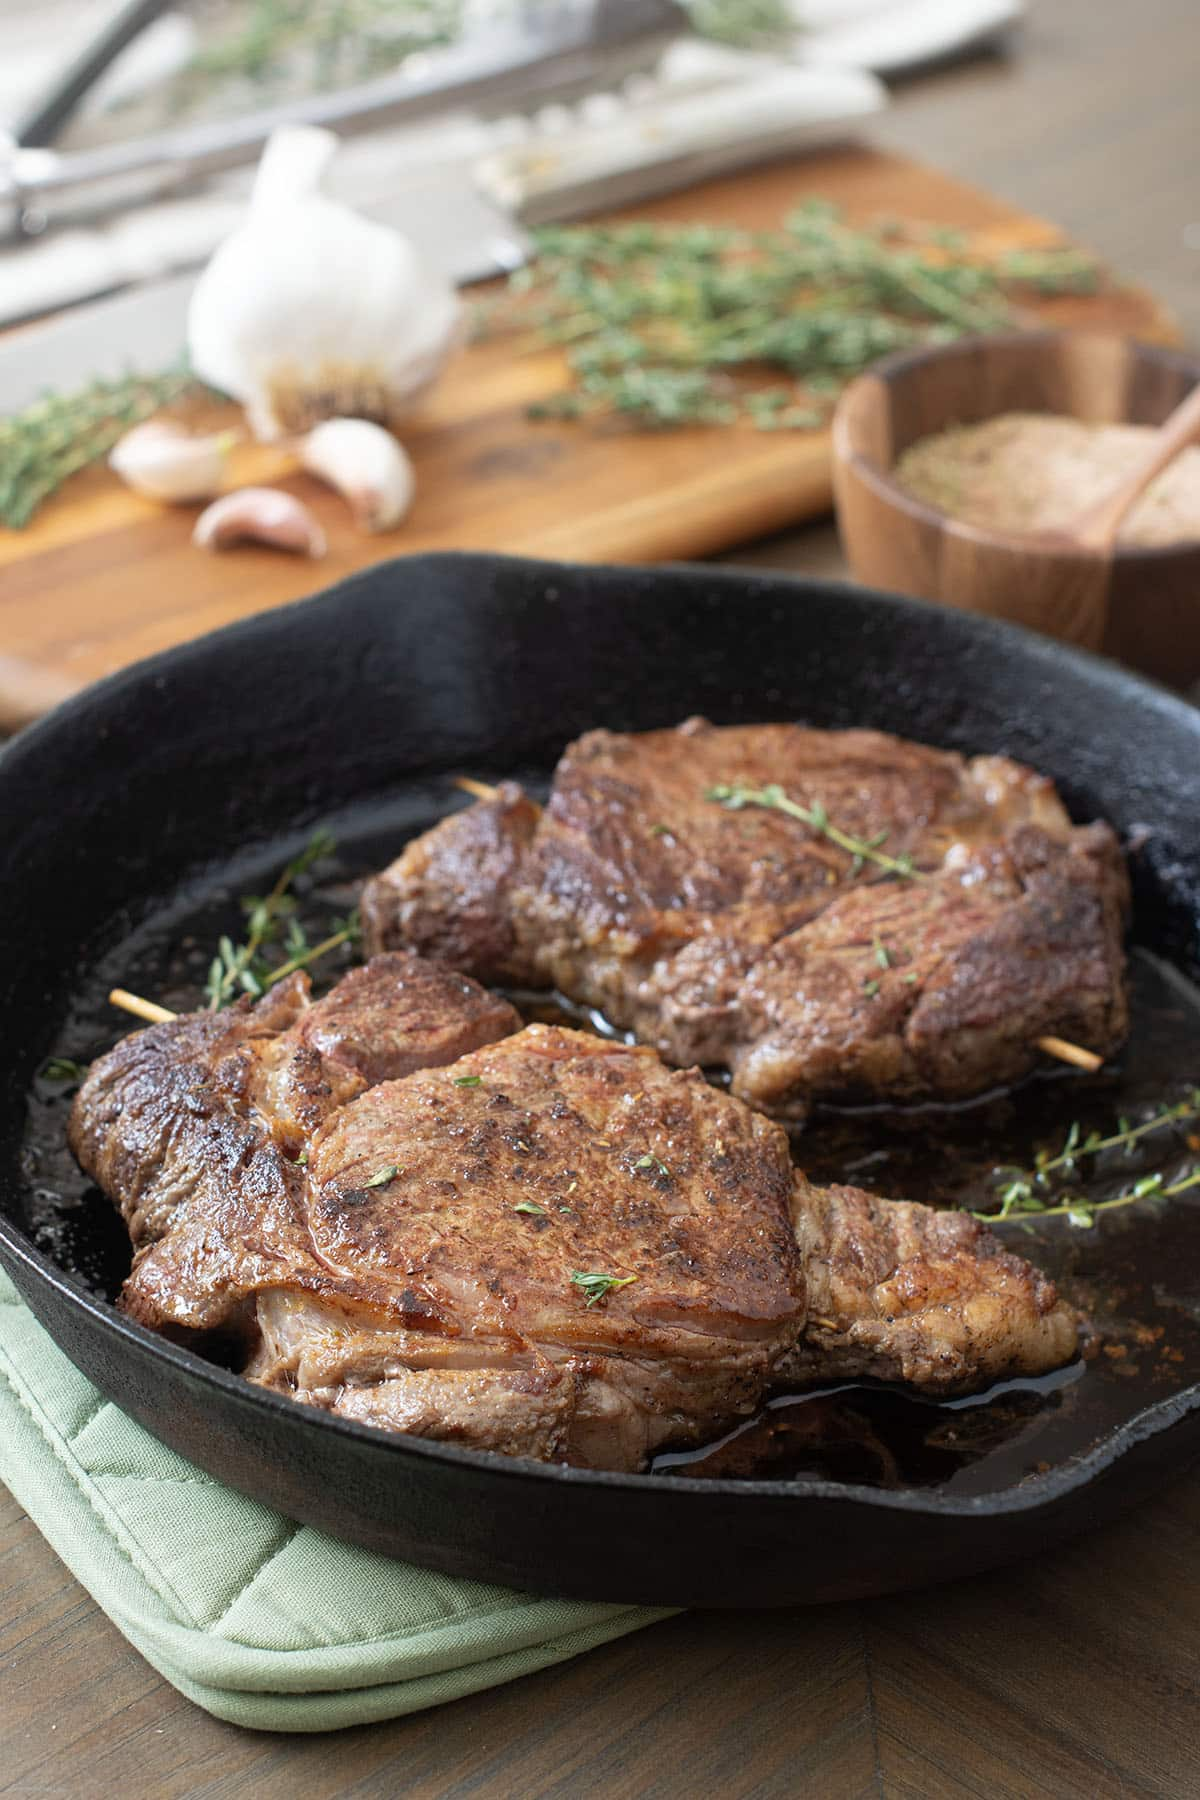
Oven Roasting Method (Dry Heat)
While chuck is more commonly used for wet cooking, oven roasting it low and slow can yield fantastic results—especially if I’m aiming for slices instead of shredded meat. I season the meat, sear it, then roast it uncovered at 275°F (135°C) with aromatic herbs and just a splash of liquid in the pan.
This method works best when I want a more steak-like texture, similar to pot roast but with slightly more chew. It’s important to tent the roast with foil for part of the cooking if it’s drying out, and to rest the meat for at least 20 minutes before slicing.
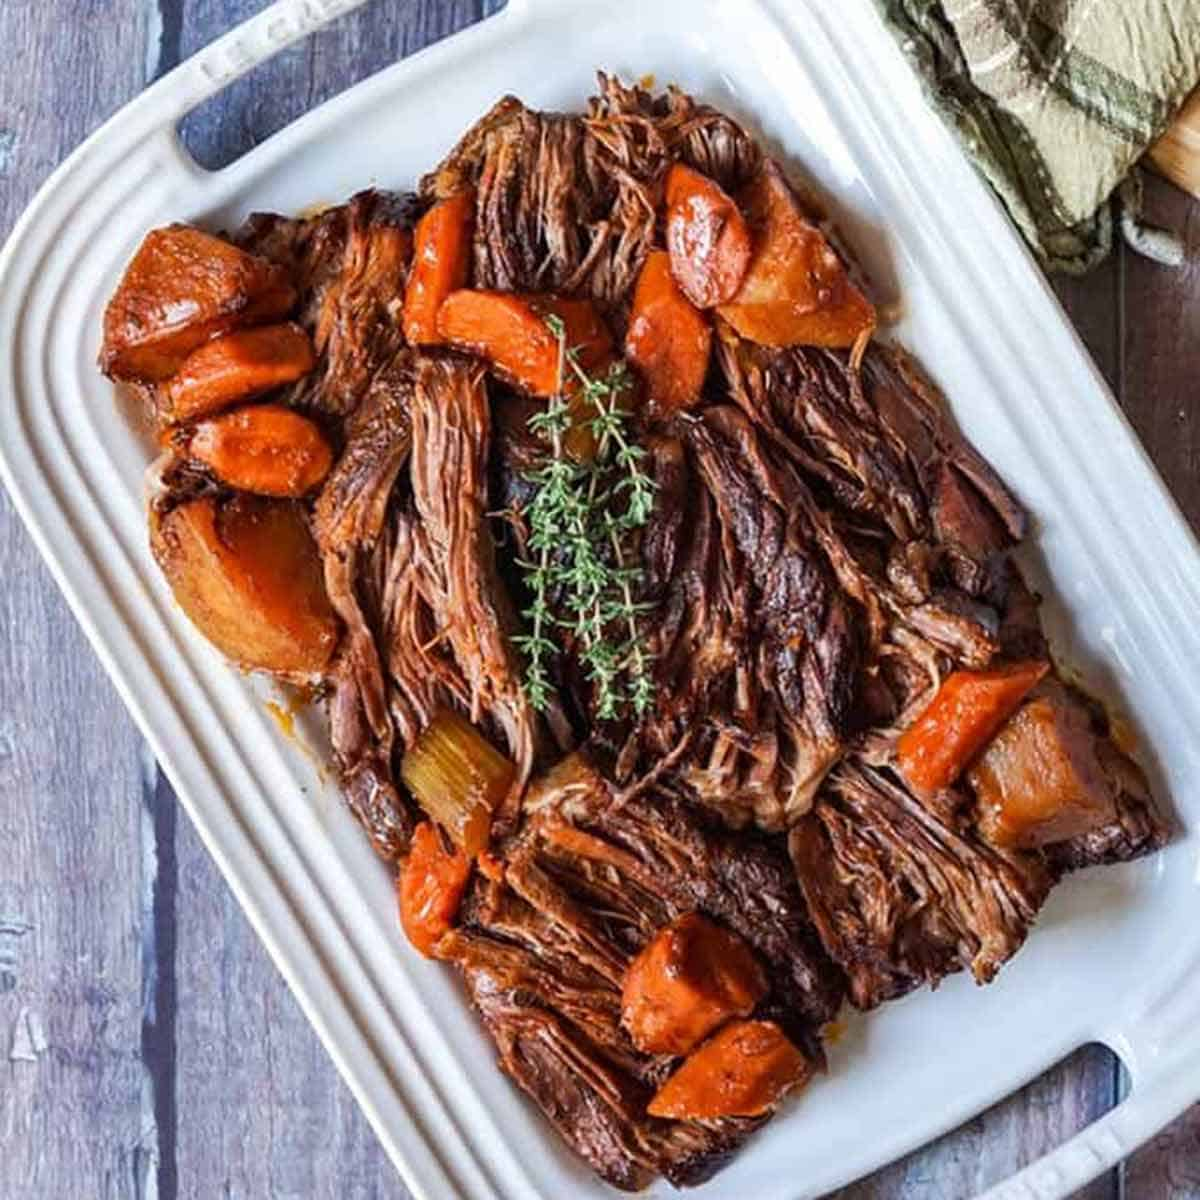
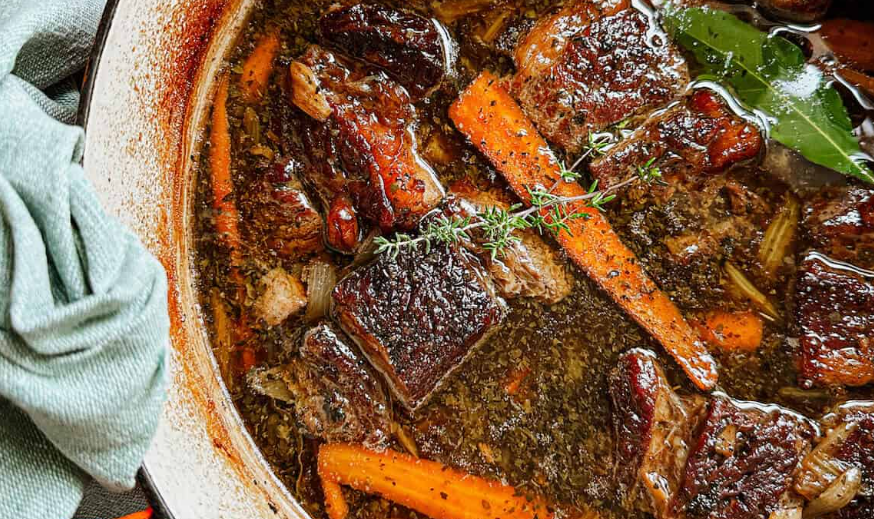
Slow Cooking for Maximum Tenderness
The slow cooker is a hands-off way to get fall-apart tender chuck. After searing, I layer onions, garlic, and herbs on the bottom of the cooker, place the meat on top, and pour in broth or wine until it reaches halfway up the meat. I cook on LOW for 8 to 10 hours, or HIGH for 4 to 5 hours, depending on my schedule.
This method is incredibly forgiving. The long cook time allows collagen to break down into gelatin, enriching the liquid and creating unbeatable texture. I often finish the sauce in a pan by reducing it and adding a pat of butter before serving.
Time and Temperature Guidelines
| Method | Temp (°F) | Time Range | Doneness Indicator |
| Braising | 300°F | 3–3.5 hrs | 195–205°F (fork-tender) |
| Roasting | 275°F | 3–4 hrs | 145°F for slicing |
| Slow cooker | Low | 8–10 hrs | Fall-apart tenderness |
| Slow cooker | High | 4–5 hrs | Pulls apart with tongs |
I always test doneness by feel—if it pulls easily, it’s ready. If not, give it more time.
Stovetop Simmering: A Classic Technique
When I don’t want to heat the oven, stovetop braising is a reliable alternative. The process mirrors the oven method: sear the chuck, remove it, build a flavor base with onions, garlic, and tomato paste, deglaze with wine or broth, and return the meat to the pot. I cover it with a tight-fitting lid and reduce the heat to a low simmer.
The key here is consistency. I check every 30–45 minutes to ensure it’s not boiling. A gentle simmer is ideal—just a few bubbles here and there. I rotate the meat once during cooking to ensure even texture and prevent the bottom from drying out. After about three hours, I check for tenderness. If it doesn’t yield to a fork, it needs more time.
Microwave and Pressure Cooker Techniques
Microwave cooking is not ideal for chuck from raw—it simply can’t break down collagen the way long, slow methods do. But for reheating leftovers, it works if done gently. I always add a spoonful of sauce or broth, cover the dish loosely, and heat in short 60-second bursts at 50% power, stirring or turning the meat between each interval. This keeps the meat moist.
On the other hand, the pressure cooker is a game-changer when time is tight. After searing the meat and building the braising base, I pressure cook on high for 45–50 minutes, then let it release naturally for 10–15 minutes. The result is incredibly tender chuck in a fraction of the time. I recommend reducing the liquid afterward to intensify flavor.
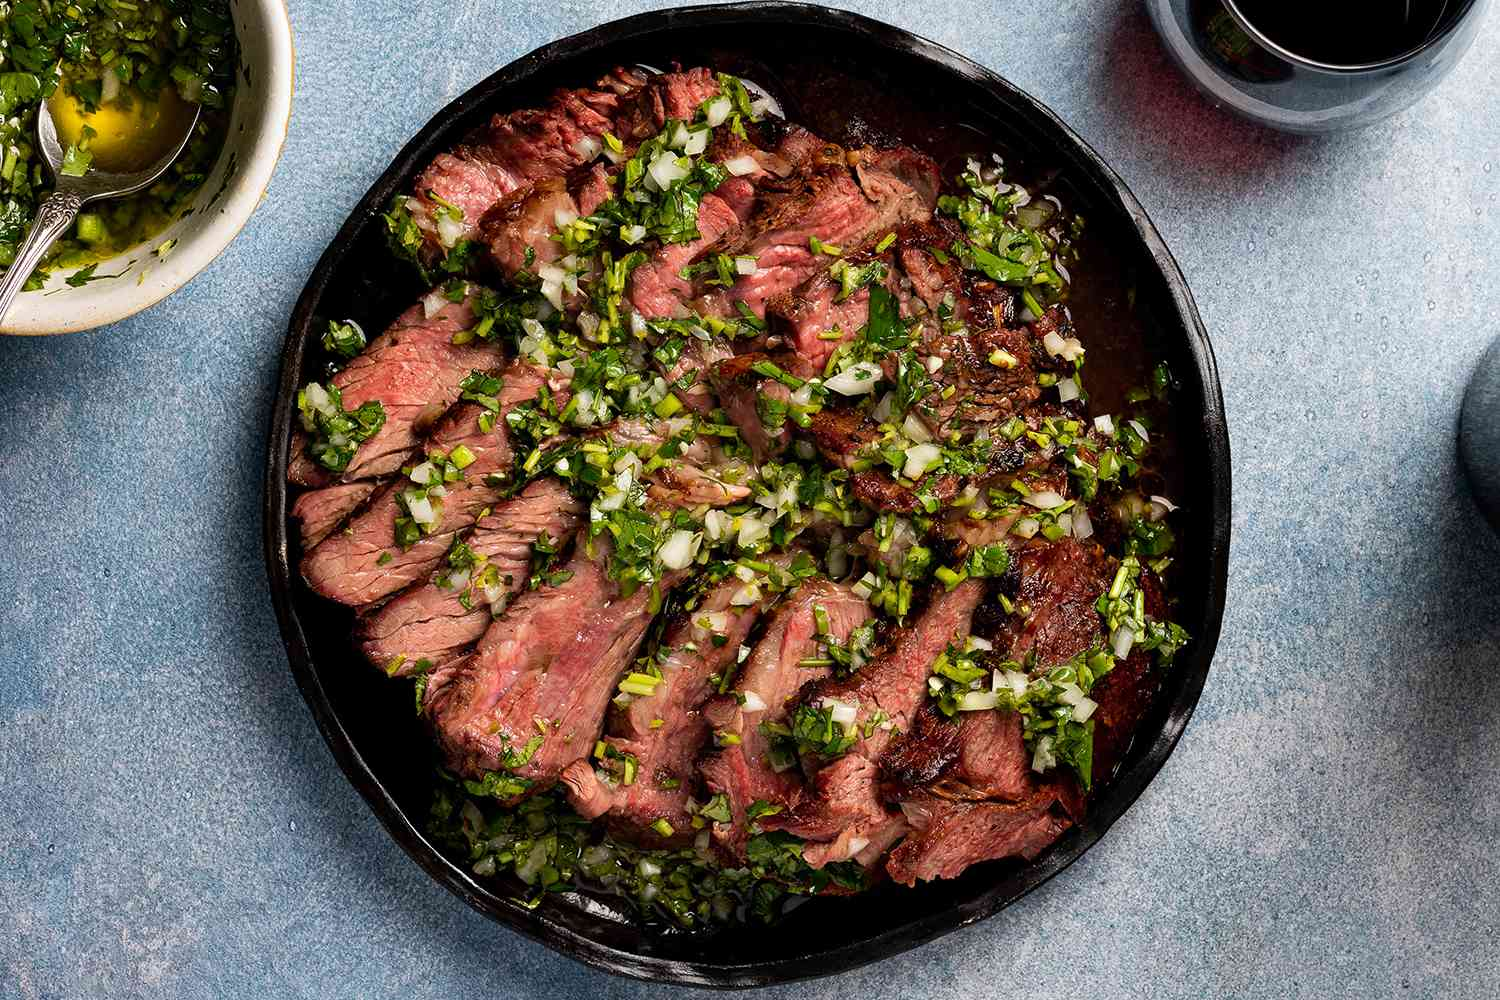
How to Shred or Slice Chuck Properly
Once the chuck is fully cooked and rested, I decide whether to shred or slice based on the texture. For shredded beef, I let it cool slightly, then use two forks or even gloved hands to pull it apart into long fibers. I always remove any excess fat or connective tissue that didn’t melt.
For slicing, I chill the roast briefly to firm it up, then slice across the grain using a sharp carving knife. Cutting against the grain shortens the muscle fibers and makes the meat tender. I never skip this detail—it’s the difference between chewy and melt-in-your-mouth.
I often return shredded meat to the sauce to soak up all the flavor. When slicing, I plate it over mashed potatoes or polenta and spoon the sauce gently over the top.
Sauces and Seasonings I Recommend
For braised chuck, the sauce often makes the dish. My classic go-to is a red wine and beef stock reduction with onions, garlic, and herbs. After cooking, I strain the liquid, reduce it, and whisk in a knob of cold butter for gloss and richness. It elevates the dish dramatically.
If I want a more acidic profile, I use balsamic vinegar and tomato paste. For warmth and complexity, I’ve experimented with cinnamon, star anise, and clove—great for Middle Eastern or Moroccan spins. A spoon of Dijon mustard adds bite, while soy sauce or miso deepens the umami.
The trick is seasoning boldly at the start, then tasting and refining at the end. Chuck can handle assertive flavors, and I build sauces that stand up to the richness of the meat.
Mistakes to Avoid When Cooking Beef Chuck
Over the years, I’ve seen many avoidable mistakes. The biggest? Not cooking long enough. Chuck needs time—there’s no shortcut for collagen breakdown. If it’s still tough after 2½ hours, don’t panic—it just needs more time.
Another mistake is too much liquid. The goal is not to boil the meat but to create a controlled moist environment. I add liquid only halfway up the meat. This ensures better flavor concentration and a sauce that reduces well.
Finally, I never forget to season properly before and during cooking. Underseasoning at the start leads to bland meat, no matter how long you cook it. Salt and acid at the finish are what make the dish sing.
Serving Ideas and Pairings
When I plate beef chuck, I aim for comfort and balance. The richness of the meat begs for a soft, creamy base. My go-to is mashed potatoes—with butter, cream, and a pinch of nutmeg. The way the sauce soaks into the mash is nothing short of indulgent. When I want to change it up, I use polenta—creamy, cheesy, and just a bit rustic. It holds the meat well and gives a different texture.
For a brighter plate, I lean into vegetables. Roasted carrots with honey and thyme, balsamic-glazed Brussels sprouts, or even a celery root purée all make great companions. Chuck has an intense flavor, so contrast is important. I often add pickled onions or a lemon-dressed arugula salad on the side to cut the richness.
Bread is never optional. I love a thick slice of country sourdough or a buttery brioche roll to mop up sauce. As for drinks, I always serve a bold red wine—something like a Syrah, Zinfandel, or Cabernet Sauvignon. These wines have the body to stand up to the depth of the meat.
How to Store and Reheat Without Losing Texture
Beef chuck is one of those rare cuts that holds up beautifully to storage and reheating—if you do it right. Once the meat is cooked, I let it cool to room temperature before packing it away. I always store the meat in its sauce or cooking liquid. This prevents drying and helps the flavor continue to develop. In the refrigerator, it lasts up to 4 days.
If I freeze it, I divide it into meal-sized portions and wrap tightly in plastic or freezer-safe containers. Chuck freezes incredibly well for up to 3 months. I label everything with the date and whether it’s sliced or shredded—that saves me guesswork later.
To reheat, I always use low, gentle heat. On the stove, I warm it in a saucepan with a little broth, covered, until it’s hot through but not boiling. In the oven, I use 300°F (150°C) and a covered dish—this prevents the meat from drying. I avoid using the microwave unless I’m in a hurry, and then only at 50% power in short bursts with moisture added.
Why This Method Brings the Best Out of Beef Chuck
Beef chuck rewards cooks who are willing to slow down. It’s not fast food. It’s food that teaches you patience—and pays it back tenfold. I love this cut because it transforms. It starts tough and full of connective tissue, but with time, moisture, and the right temperature, it becomes luxurious, tender, and packed with deep, satisfying flavor.
What makes my method work every time is how it respects the nature of the meat. I don’t rush it. I use enough heat to melt collagen slowly. I balance my seasoning at the start and finish. I use aromatics to build complexity. And I always give it time to rest before slicing or shredding.
The result is food that feels both rustic and refined. Something you can serve at a casual dinner—or proudly plate for guests. Cooking beef chuck right isn’t just about technique—it’s about learning to trust the process. And once you taste it, you’ll know exactly why it’s worth it.
Variations Worth Exploring
Chuck is incredibly versatile, and I’ve explored dozens of variations over the years. For an Italian version, I use rosemary, garlic, crushed tomatoes, and red wine. I finish it with fresh basil and serve it over parmesan polenta. It’s rich, aromatic, and warming.
For a French-inspired dish, I go with shallots, thyme, Dijon mustard, and white wine or vermouth. I add mushrooms near the end of cooking for earthy depth. A splash of cream makes the sauce even more decadent. It’s perfect for colder months.
When I want something brighter, I do a Latin twist—orange juice, chipotle peppers, cumin, and oregano. It creates a vibrant sauce with a smoky-sweet backbone, great for tacos, rice bowls, or even sandwiches with slaw.
Chuck also works well in Asian-style braises. I’ve used soy sauce, ginger, garlic, five-spice, and star anise to create something complex and addictive. Finished with scallions and sesame oil, it’s perfect with steamed jasmine rice or noodles.
Making Beef Chuck for a Crowd or Meal Prep
Chuck is one of the best cuts for feeding a crowd or planning ahead. It’s affordable, easy to scale, and the flavors improve with time. When I cook for large groups, I double the batch and split it across two Dutch ovens or slow cookers. It holds heat well and can sit in a warm oven or on “keep warm” mode for hours without drying out.
For meal prep, I cook a large chuck roast, shred the meat, and portion it with sauce into containers. I label each with the date and whether it’s for sandwiches, tacos, or grain bowls. It becomes a week of meals with minimal extra effort.
I’ve served beef chuck at weddings, family gatherings, and casual Sunday suppers. And every time, someone asks how I made it so tender. The truth? Time, patience, and respect for the meat. That’s what turns beef chuck into something truly memorable.
FAQ: 15 Real Questions About Cooking Beef Chuck (With My Professional Advice)
What’s the best way to cook beef chuck for shredding?
In my experience, nothing beats slow braising or using a slow cooker on low for 8 to 10 hours. That’s when the collagen melts down completely, and the meat shreds effortlessly with a fork. I’ve tried pressure cooking too, and while it works faster, the texture from long braising is unbeatable. I always go low and slow for best results.
Can I roast chuck like a steak in the oven?
Technically yes, but it needs to be done slowly and with moisture. I’ve tried high-heat roasting in the past and ended up with dry, chewy meat. If I want to roast it, I sear it first, then slow-roast at 275°F (135°C) with a small amount of liquid and herbs in the pan. It needs time and should be sliced across the grain, not shredded.
Should I brown the meat before slow cooking?c
Always. I’ve tested batches with and without searing, and the difference is obvious. Browning adds deep flavor, color, and complexity to both the meat and the sauce. It’s five minutes of work for a huge flavor payoff. Don’t skip it—even in a slow cooker recipe.
What liquid should I use for braising chuck?
My go-to is a mix of beef broth and red wine. If I want something richer, I use balsamic or a splash of Worcestershire. For brighter dishes, I’ve used orange juice, tomatoes, or white wine. The key is not to flood the meat—just enough to come halfway up the roast.
How do I know when chuck is done cooking?
I go by feel. If I can pull the meat apart easily with two forks, it’s done. If it resists, I leave it longer. Internal temp is usually around 195–205°F (90–96°C) for shredding. I’ve learned never to rely on time alone—check the tenderness before serving.
Can I cook chuck from frozen?
Yes, but I don’t recommend it unless you’re using a pressure cooker. In a slow cooker or oven, starting from frozen risks uneven cooking and bacteria. I always thaw it fully in the fridge first—it cooks better and absorbs seasoning more evenly.
What if my chuck roast is too fatty?
Some fat is good, but too much can be overwhelming. I trim any large surface fat before cooking but leave the marbling inside. During cooking, I let the meat rest and skim off excess fat from the sauce. I’ve learned that balance is key—not too lean, not too greasy.
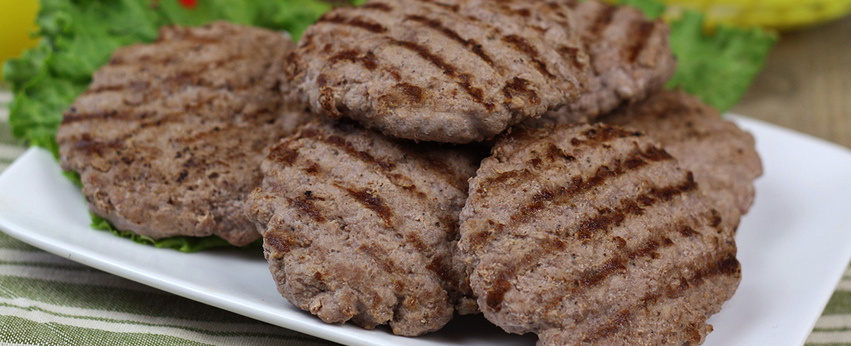
Can I use beef chuck in chili or stew?
Absolutely. I use cubed chuck for chili all the time. It holds up better than ground beef and adds more body to the dish. I sear the cubes first, then simmer them with beans, tomatoes, and spices for a few hours. It turns into a rich, meaty base with deep flavor.
How should I store leftover chuck roast?
Once cooled, I store it in an airtight container with the sauce or braising liquid. It keeps well in the fridge for 4 days. I often shred it first and freeze it in meal-sized portions. Reheated slowly, it’s just as good the next day—sometimes better.
Can I make beef chuck ahead of time for a party?
I’ve done this for weddings and catering events many times. I cook the chuck a day ahead, shred it, chill it in its sauce, and reheat gently the next day. The flavor actually improves overnight, and it makes service smoother. It’s perfect for feeding a crowd.
What sides go best with chuck roast?
I recommend mashed potatoes, polenta, roasted root vegetables, or rice. These bases soak up sauce and provide contrast. I also like something crisp or acidic on the plate—like pickled onions or arugula with lemon. Chuck is rich, so sides need balance.
How do I reheat chuck roast without drying it out?
I reheat it in a covered dish with a splash of broth or sauce at 300°F (150°C) for 20–30 minutes. On the stove, I use low heat and keep it covered. If using the microwave, I slice it first, add liquid, cover it, and heat at 50% power in short intervals.
Can I use chuck in Asian recipes?
Definitely. I’ve made excellent results using soy sauce, ginger, garlic, star anise, and sesame oil. A slow braise with those flavors turns chuck into a great filling for noodles or bao buns. Just adjust the aromatics and you’ve got something totally different.
Should I use bone-in or boneless chuck?
Both work, but I prefer bone-in when flavor is the priority. The bone adds depth to the braising liquid and keeps the meat juicier. Boneless is easier to shred and portion, though. I choose based on the end use—bone-in for a plated roast, boneless for tacos or meal prep.
What’s your number one tip for beginners?
Be patient. Chuck isn’t fast, but it’s forgiving. Don’t rush the cooking, and don’t panic if it takes longer than expected. If it’s still tough, just give it more time. Use enough seasoning, check tenderness, and let it rest. I’ve cooked chuck hundreds of times, and the key is trust: the longer it cooks, the better it gets—when done right.

Post Comment